Intermediate DIY Upgrades That Make a Statement
Build a Custom Accent Wall with Trim or Slats
Creating a statement accent wall using wood trim or vertical slats is one of the most popular intermediate DIY upgrades. It introduces you to concepts like layout planning, spacing, and angle cutting—skills that elevate your craftsmanship. Choose geometric designs, board-and-batten, or fluted slats to add architectural character.
With the right tools—such as a miter saw, level, and nail gun—you’ll bring a bold, textural feature to life. Finish with contrasting paint for maximum visual impact. It’s a perfect project to move beyond basic decor into structured, permanent upgrades that add long-term value.
Replace a Vanity or Bathroom Sink
Swapping out an old bathroom vanity for a modern version adds both style and function. This intermediate DIY upgrade includes skills like disconnecting plumbing, leveling, and sealing fixtures—important for anyone moving toward more complex remodels.
Choose a pre-assembled vanity or build one from scratch for a completely custom touch. You’ll gain confidence handling water lines and troubleshooting minor plumbing tasks. The result is a functional focal point that transforms your space and proves you’re ready for next-level home improvements.
Install Built-In Shelving or Niche Storage
Built-in shelves and wall niches create polished, professional results that maximize space and style. This intermediate DIY upgrade enhances your layout planning, wall framing, and drywall finishing skills—perfect for those ready to go beyond surface-level design.
Use built-ins to flank fireplaces, define entryways, or enhance closets. Whether you frame a niche between studs or create recessed bathroom shelving, the results elevate your home’s custom appeal. It’s a project that blends form and function while sharpening your construction abilities.
Upgrade Your Staircase with New Railings or Treads
A staircase overhaul makes a bold statement and introduces structural elements like railing systems, balusters, and stair treads. You’ll use tools like circular saws, sanders, and power drills to update aesthetics while ensuring safety and stability.
This intermediate DIY upgrade lets you refine skills in measuring, anchoring, and finishing. Paint or stain the new parts to match your style—from farmhouse rustic to sleek and modern. It’s a transformative project that boosts curb appeal inside your home while developing your confidence with architectural carpentry.
Tile a Kitchen Backsplash or Bathroom Wall
Installing tile is a true intermediate skill. It requires measuring, cutting with a wet saw, and mastering spacing and grout application. Adding a backsplash in your kitchen or bathroom gives your home a designer finish and durable surface protection.
This DIY upgrade helps you practice symmetry, adhesive control, and precision. From classic subway tile to bold mosaic patterns, tiling adds sophistication and personal flair. With patience and planning, you’ll achieve professional-looking results that stand up to daily use and make a lasting impression.
Install a Sliding Barn Door for Style and Space
Sliding barn doors are stylish, functional, and perfect for small spaces where a swinging door doesn’t fit. This intermediate DIY upgrade involves mounting a track, hanging a heavy door, and ensuring smooth, level operation—skills that build confidence in structural alignment and hardware installation.
Choose a pre-made door or construct your own for a more custom approach. With finishes ranging from rustic reclaimed wood to sleek modern panels, barn doors become statement pieces that transform entryways or closets while reinforcing your growing DIY capabilities.
Create a Feature Ceiling with Wood Beams or Planks
Adding wood beams or planks to a ceiling instantly elevates a room. This intermediate DIY upgrade teaches you to plan grid layouts, fasten overhead elements, and coordinate materials with your existing architecture. Faux wood beams make the job lighter and more manageable while achieving high-end results.
Paint or stain to suit your style, and pair with recessed lighting or pendants for a dramatic effect. This project enhances both vertical visual interest and your ability to manage weight, alignment, and finishing techniques—hallmarks of confident DIY execution.
Build a Shiplap Wall for Coastal or Farmhouse Flair
Installing shiplap brings texture and warmth to any space, making it one of the most impactful intermediate DIY upgrades. You’ll learn how to measure, level, and fasten horizontal boards with consistent spacing. It’s a manageable step up from basic paneling or wallpapering.
Shiplap works well in entryways, bathrooms, or accent walls and can be painted to match any decor style. You’ll develop comfort using nail guns, caulking, and finishing materials while gaining insight into precision alignment and wall preparation for semi-permanent installations.
Construct a Window Seat with Storage
Window seats provide cozy style and practical function, making them a great intermediate DIY upgrade. Build a bench frame with storage underneath, using your carpentry and layout skills to fit your window’s dimensions. Add hinged lids or drawers for hidden organization.
This project develops your abilities in measuring, framing, fastening, and trimming. Upholstering a cushion or adding accent pillows completes the look. A well-built window seat adds architectural interest, expands seating, and teaches spatial integration and material management for larger custom builds.
Replace Interior Doors for a Modern Update
Swapping hollow-core or outdated doors with modern panel or glass options instantly modernizes your home. This intermediate DIY upgrade includes handling pre-hung doors or modifying existing frames, using chisels, shims, and new hinges or hardware for a perfect fit.
With careful measurements and finishing, you’ll gain experience in door hanging, alignment, and painting. Whether choosing minimalist slab doors or decorative panel styles, this upgrade enhances your home’s flow and showcases your growing skills in detail-oriented interior upgrades.
Build a Custom Mudroom Bench with Hooks
A built-in mudroom bench is a smart way to add organization and style to any entryway. This intermediate DIY upgrade includes building a sturdy bench, mounting coat hooks, and integrating storage cubbies or shelves. It teaches skills like framing, finish carpentry, and layout planning.
Choose paint or stain to match your home’s style, and consider adding beadboard or shiplap for extra texture. This project enhances functionality and creates a polished, built-in look that adds real value while advancing your confidence in woodworking and space design.
Install Wainscoting or Picture Frame Molding
Wainscoting and wall molding add timeless elegance to dining rooms, hallways, or bathrooms. This intermediate DIY upgrade develops your measuring, cutting, and finishing techniques—especially with miter joints and spacing accuracy. Picture frame molding, in particular, delivers a high-end effect with minimal material.
Paint the lower portion of the wall in a contrasting tone for visual interest. With patience and precision, you’ll create architectural detail that rivals professional installations—showcasing both your design taste and DIY prowess.
Retile a Fireplace Surround for a Modern Refresh
Give your fireplace new life by updating the surround with fresh tile. This intermediate DIY upgrade involves removing old tile, prepping the surface, and applying new tiles with thinset and grout. It’s a manageable way to practice tiling on a smaller scale before tackling full walls or floors.
From marble herringbone to ceramic hex patterns, your material choices make a bold design statement. This project hones your skills in surface prep, tile cutting, and finishing—while dramatically upgrading the focal point of your living space.
Build a Sliding Drawer System for Cabinets or Pantry
Sliding drawers or pull-out trays add accessibility and organization to any kitchen or pantry. This intermediate DIY upgrade involves measuring for clearances, installing drawer slides, and building simple boxes or trays. It’s an excellent introduction to mechanical hardware and cabinetry customization.
Use quality plywood or pre-finished boards for durability, and mount using templates for accurate spacing. The result is smoother storage, better visibility, and a major functionality boost—all while building real cabinet-making experience.
Install a Wall-Mounted Electric Fireplace
For dramatic flair and cozy ambiance, install a wall-mounted electric fireplace. This intermediate DIY upgrade involves mounting the unit, running wiring (where allowed), and framing the area with drywall or faux brick panels. You’ll build layout, electric, and finishing skills in one cohesive project.
Pair with a feature wall or built-in shelving to create a stunning focal point. It’s a high-reward upgrade that instantly modernizes your space and offers hands-on experience with multi-skill coordination and design planning.
Frequently Asked Questions
What makes a project an intermediate DIY upgrade?
Intermediate DIY upgrades require more tools, planning, and precision than beginner tasks. These projects typically involve multiple steps, structural changes, or materials like tile, wood, or plumbing. Examples include building built-ins, tiling a backsplash, or replacing a vanity. These tasks demand measuring accuracy, tool proficiency, and sometimes light electrical or plumbing knowledge. They’re ideal for DIYers with some experience who are ready to tackle more complex challenges. With preparation and patience, intermediate projects help develop skills and deliver impactful, long-lasting improvements.
Do I need special tools for intermediate DIY projects?
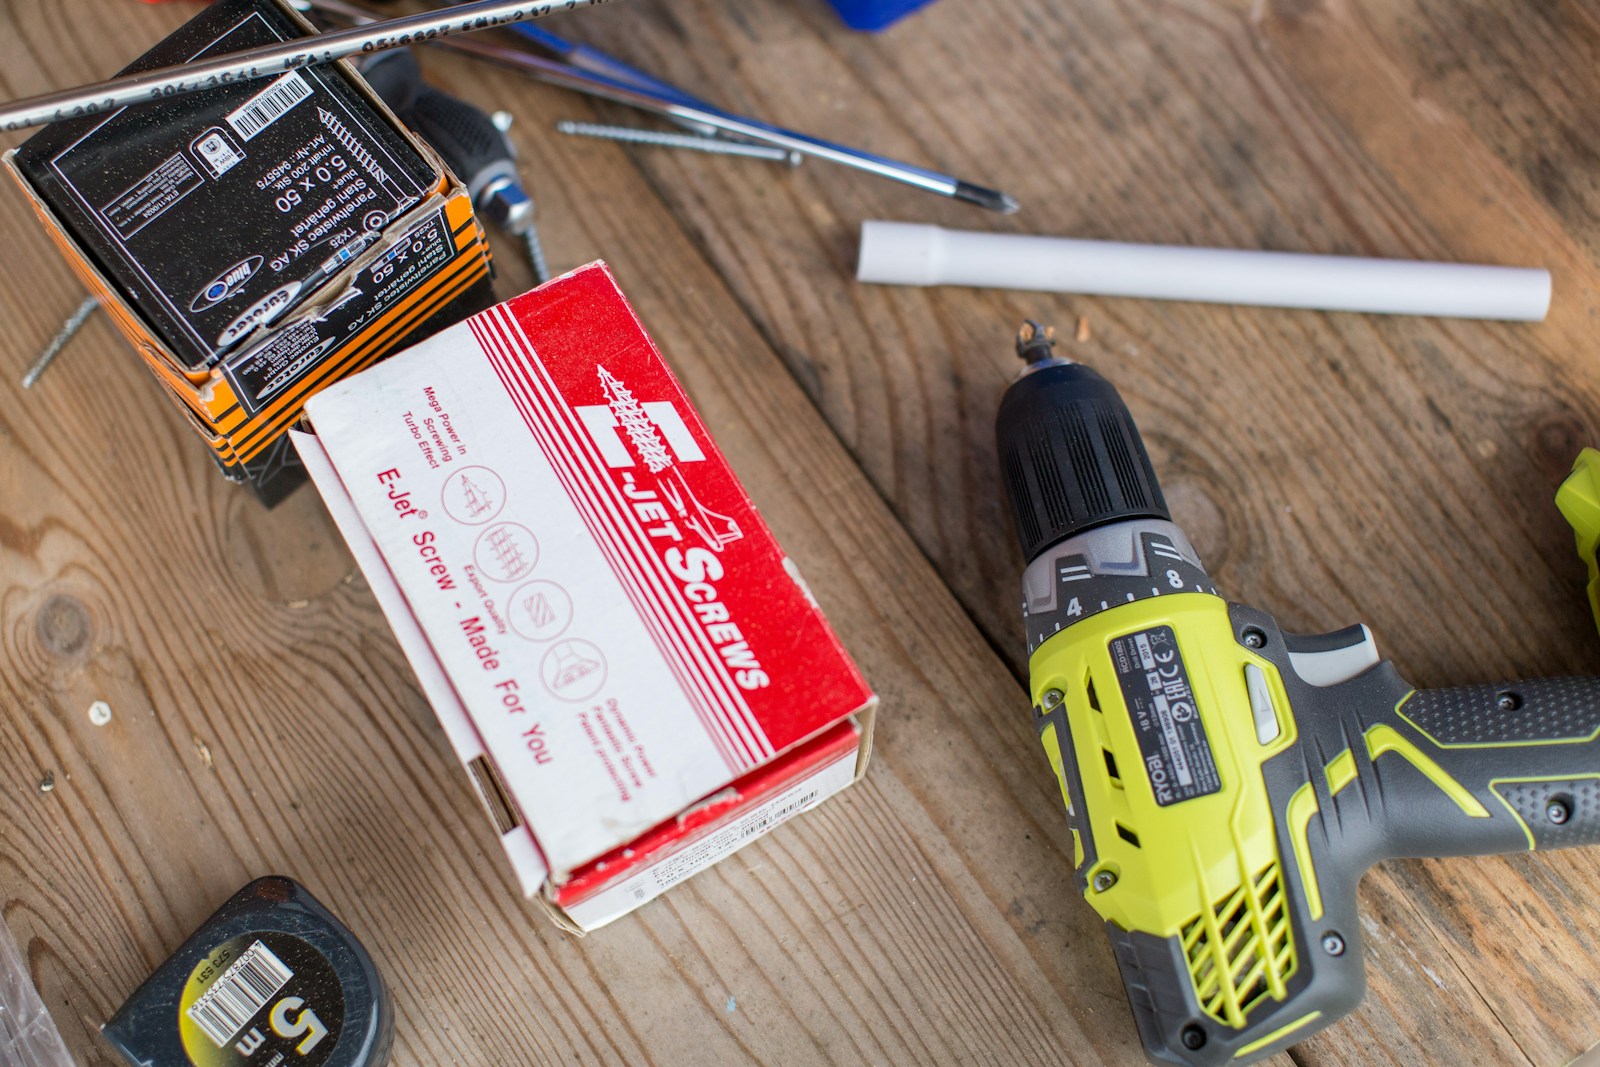
Yes, intermediate DIY upgrades often require tools beyond basic hand tools. A circular saw, miter saw, power drill, nail gun, level, and stud finder are commonly used. For tiling, you may need a wet saw and notched trowel. Some tasks may also require clamps, chisels, or caulk guns. Investing in quality tools or renting them as needed can improve your results. Always follow safety guidelines and consider practicing with tools on scrap material before working on your main project. As your tool collection grows, so will your DIY capabilities.
How do I know if I’m ready for intermediate projects?
If you’ve successfully completed basic DIY tasks—like painting, hanging shelves, or assembling furniture—you’re likely ready to take on intermediate DIY upgrades. Look for projects that challenge your current skills without overwhelming you. Research thoroughly, break the project into steps, and set realistic timelines. Start with manageable upgrades like installing a backsplash or framing a mirror before moving to built-ins or staircases. Confidence, patience, and a willingness to learn are key. Intermediate projects are where many DIYers level up their expertise and achieve noticeable transformations.
What are some high-impact intermediate projects for resale value?
Intermediate DIY upgrades that boost resale value include installing tile backsplashes, updating bathroom vanities, creating built-in shelving, and upgrading staircases. These projects enhance both aesthetics and function, which appeal to potential buyers. Custom features like wainscoting, feature walls, or a window seat also add character and architectural interest. When done well, these upgrades can increase perceived value and help your home stand out. Prioritize neutral finishes and timeless designs for the broadest appeal. Smart improvements make your space more enjoyable now and more marketable later.
How can I ensure professional-looking results with DIY?
To achieve polished results, plan thoroughly and measure multiple times before cutting or drilling. Use painter’s tape for clean paint lines, spacers for tile, and levels to ensure symmetry. Take your time—rushing leads to mistakes. Invest in quality materials and tools suited for the job. Follow tutorials, read instructions, and don’t hesitate to practice on scrap pieces. Clean up as you go and finish with caulk, sealant, or trim for a refined touch. Consistency and attention to detail are key to making intermediate DIY upgrades look like they were professionally done.
© 2025 GardeningandDecor.com. All rights reserved.


