How to Build Your Own Closet Organizers
Why You Should Build Your Own Closet Organizers
Building your own closet organizers gives you control over space, function, and design. Many store-bought systems are expensive and may not fit your unique closet layout. By going the DIY route, you get to decide what stays, what goes, and where everything belongs. This hands-on approach not only saves money but also delivers a personalized solution.
Closets often become cluttered and ineffective. When you build your own closet organizers, you tailor the design to your exact storage needs. From hanging space to shelving for shoes and bins for accessories, everything is made to fit your lifestyle. Also, DIY projects offer a great sense of accomplishment and creativity.
Best of all, the process is not as complicated as it sounds. With a few tools and the right measurements, anyone can improve their closet’s layout. It’s the perfect weekend project with long-term rewards.
Essential Tools for Closet Organizer DIY Projects
Before starting to build your own closet organizers, gather the necessary tools. Having the right equipment makes the process smoother and more enjoyable. You’ll need a measuring tape, level, circular saw or handsaw, drill, screwdriver, and stud finder. Safety goggles and gloves are also essential for protection.
Other helpful items include a pencil for marking, a square for aligning corners, and wood glue for added strength. If you’re installing shelves or drawers, consider having brackets, screws, and anchors on hand. Don’t forget sandpaper or a sanding block to smooth out edges for a clean finish.
Proper preparation ensures your DIY project will go off without a hitch. By organizing your tools before you begin, you’ll avoid delays and mistakes later.
Measuring and Planning Your Closet Space
One of the most important steps in building your own closet organizers is measuring accurately. Start by clearing everything out of your closet. Use a tape measure to record the width, height, and depth of the space. Take note of where the studs are, as this will affect where you can securely attach shelves and rods.
Sketch a layout or use free online tools to plan your design. Decide on the number of hanging rods, shelves, and cubbies you’ll need. Consider vertical space—adding storage above or below hanging clothes can make a big difference. Keep in mind your wardrobe and daily habits. For instance, if you wear suits often, you’ll need more hanging space.
Good planning reduces waste and leads to better results. Take your time during this phase to avoid costly mistakes.
Choosing Materials to Build Your Own Closet Organizers
When selecting materials, consider both budget and durability. Common choices include plywood, MDF (medium-density fiberboard), and melamine-coated boards. Plywood is sturdy and versatile, while MDF offers a smooth surface that’s easy to paint. Melamine boards provide a sleek, modern look and are easy to clean.
For a more rustic or industrial style, use reclaimed wood or metal pipes. Choose materials that match your home’s decor. Remember, closet organizers should be functional but also pleasant to look at. Avoid particle board if your closet is prone to humidity, as it can warp over time.
By selecting the right materials, your closet will not only function well but also stand the test of time.
Constructing Shelves for Maximum Storage
Shelves are the backbone of most closet organizers. Begin by marking the height where each shelf will go. Use a level to ensure lines are straight. Cut your boards to fit and secure them with brackets or cleats attached to the wall. Always screw into studs when possible for a sturdy build.
Adjustable shelves offer flexibility. Use shelf pins or tracks to allow customization as your storage needs change. If you’re short on wall space, consider corner shelves or over-door options. Adding dividers or baskets can help further organize each shelf.
When you build your own closet organizers, focus on usability. Shelves that are too deep or too shallow can be frustrating. Aim for practical dimensions that suit what you store.
Integrating Drawers and Hanging Rods
Drawers are perfect for storing folded clothes, undergarments, and accessories. Purchase pre-made drawer kits or build boxes with plywood. Use smooth gliders for easy operation. Position drawers at waist height for best accessibility.
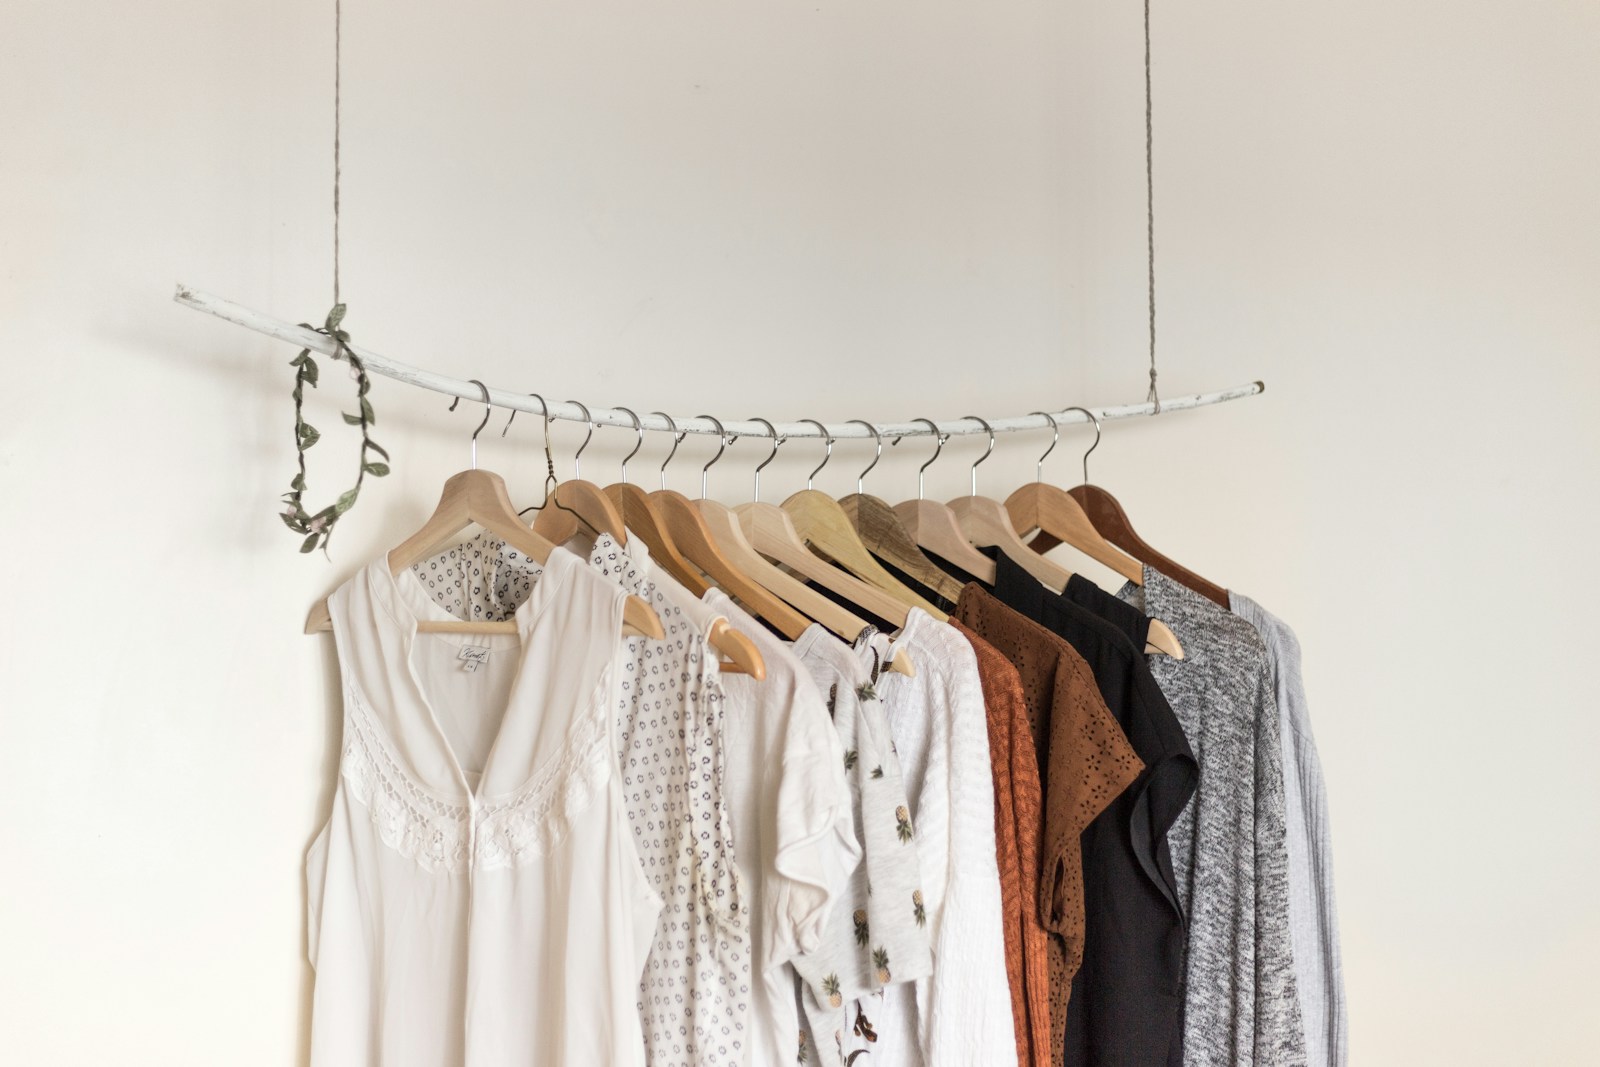
Hanging rods are a must for dresses, suits, and shirts. Choose between single and double-hang sections based on your clothing. Install rods using heavy-duty hardware to prevent sagging. Make sure rods are evenly spaced and securely attached.
Combining shelves, drawers, and rods gives your closet a balanced, user-friendly design. Each element should serve a specific function, making daily routines smoother.
Adding Baskets, Bins, and Hooks
To complete your custom closet, add accessories like baskets, bins, and hooks. These help categorize smaller items and keep your space tidy. Wire baskets allow visibility and airflow, which is great for gym clothes or scarves. Fabric bins offer a cleaner look and can be labeled for clarity.
Hooks are ideal for belts, hats, bags, and jewelry. Mount them on walls or inside doors to save space. Use adhesive-backed hooks for a no-drill solution. Group similar items together to make the most of each accessory.
These small additions make a big impact. They keep items off the floor and reduce visual clutter, making your closet more enjoyable to use.
Painting and Finishing Your Closet Organizer
Once the structure is built, it’s time to finish it. Sand all edges and surfaces to remove roughness. Apply primer if you’re painting raw wood. Choose a semi-gloss or satin finish for easy cleaning and a polished look.
White and neutral tones make spaces feel larger. However, don’t be afraid to add color or wallpaper for a custom touch. Let paint dry completely before placing items back. For added durability, seal with a clear topcoat.
A well-finished closet organizer not only functions well but also enhances the room’s appeal. It’s the final step that brings everything together.
Maintaining Your Closet Organizers
To keep your closet functional, regular maintenance is essential. Reassess every season to remove unused items. Clean shelves and vacuum corners to keep dust at bay. Check for loose screws or sagging rods and fix them promptly.
Labeling bins and rotating clothing ensures your space stays efficient. Periodic updates, like adding extra hooks or replacing worn bins, help maintain order. These small habits go a long way in preserving your hard work.
After all, when you build your own closet organizers, maintaining them is part of the journey. It keeps everything neat and enjoyable long-term.
FAQs About Building Your Own Closet Organizers
What’s the easiest type of closet organizer to build?
Shelves are typically the simplest to build. They require minimal tools and materials, making them a great starting point for beginners.
How long does it take to build your own closet organizer?
Most projects take a weekend or less. Simpler designs can be done in a few hours, while more complex builds may require two days.
Is it cheaper to build or buy closet organizers?
Building your own is usually cheaper, especially if you already own tools. You also get a custom fit, which adds more value for less cost.
What wood is best for DIY closet systems?
Plywood is ideal for durability and versatility. For a smooth finish, MDF is great but heavier. Choose based on budget and style.
Can I install a closet system in a rental?
Yes, opt for non-permanent solutions like freestanding units or adhesive hooks. These avoid wall damage and are easy to remove.
© 2025 GardeningandDecor.com. All rights reserved.