How to Build a Raised Bed Garden from Scratch
Starting your own garden can feel overwhelming, but raised beds make it simpler, tidier, and more productive. Whether you’re working with poor soil, limited space, or just want a more organized layout, this guide will walk you through how to build a raised bed garden from scratch.
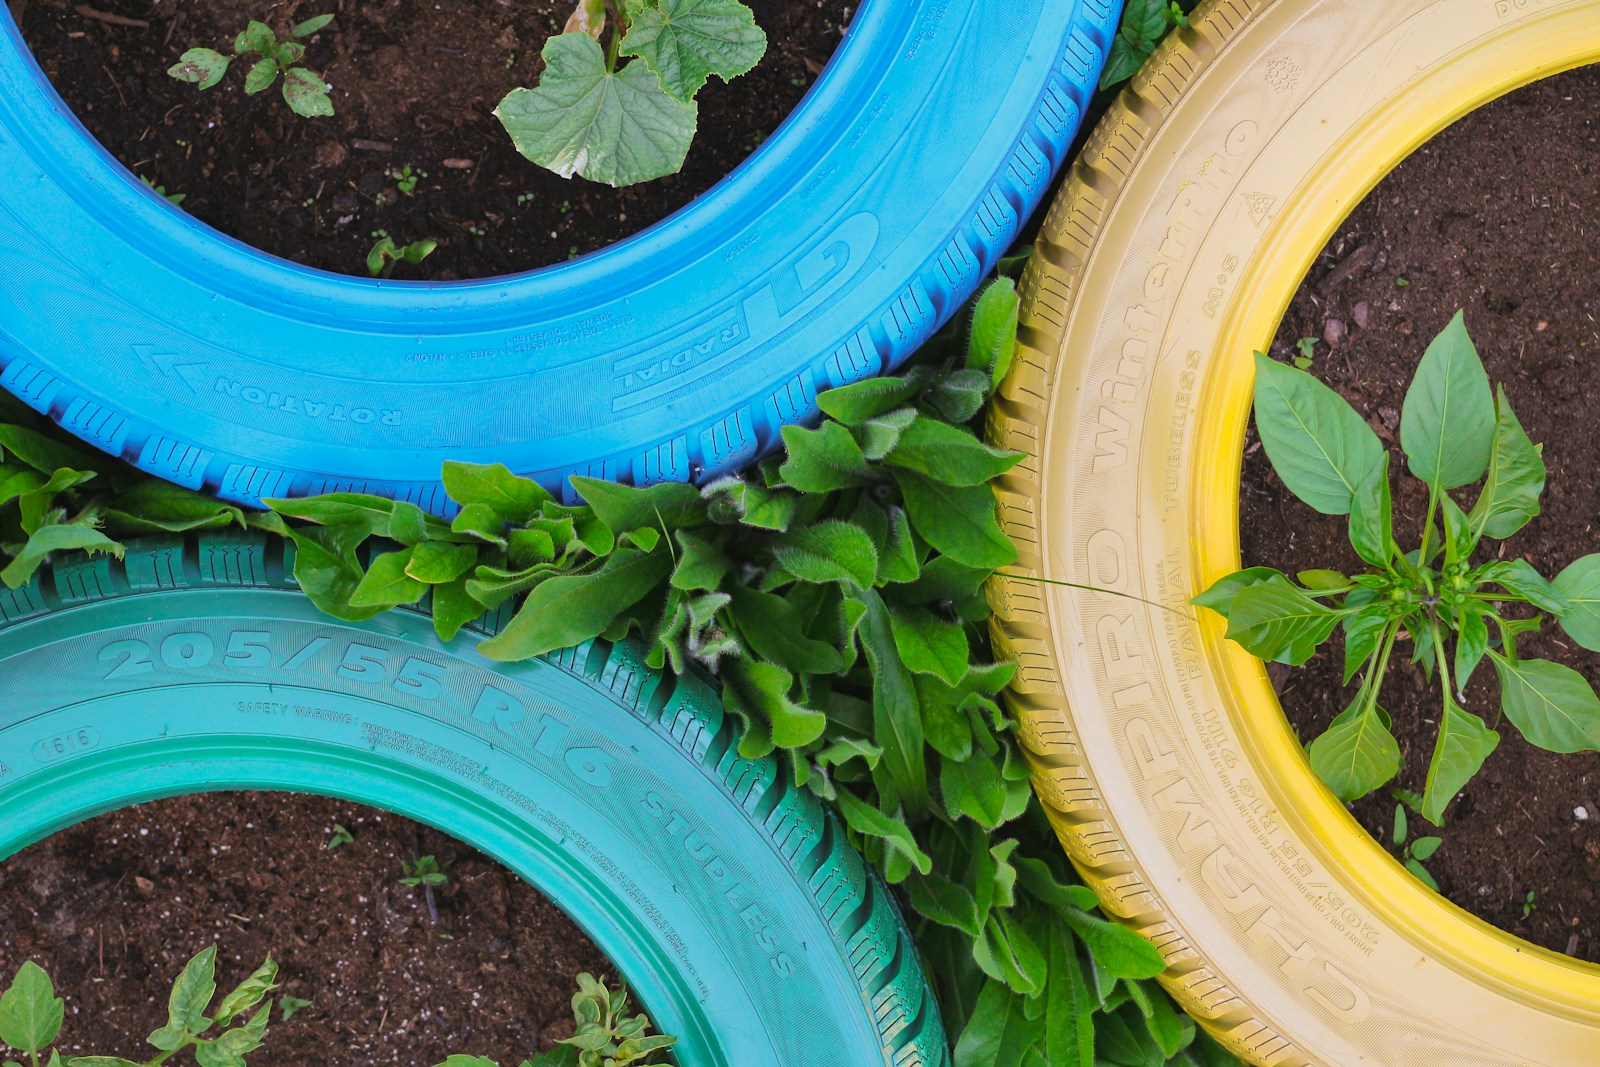
Why Choose a Raised Bed Garden?
Raised beds offer better soil control, improved drainage, and fewer weeds. They’re ideal for small spaces, urban settings, or anyone who wants to avoid bending over too much while gardening. Plus, they look neat and tidy!
Step 1: Choose the Right Location
Pick a sunny spot—most vegetables and herbs need 6 to 8 hours of sunlight daily. Make sure the ground is level and accessible from all sides, especially if you plan to build multiple beds.
Step 2: Decide on the Bed Size
A good beginner size is 4 feet wide by 8 feet long, and about 12–18 inches deep. This gives plants plenty of space while keeping the bed narrow enough to reach the center from either side without stepping in.
Step 3: Gather Materials
You’ll need the following materials:
- Rot-resistant wood (cedar or redwood) or composite boards
- Galvanized corner brackets or wood screws
- Weed barrier or cardboard (for the bottom)
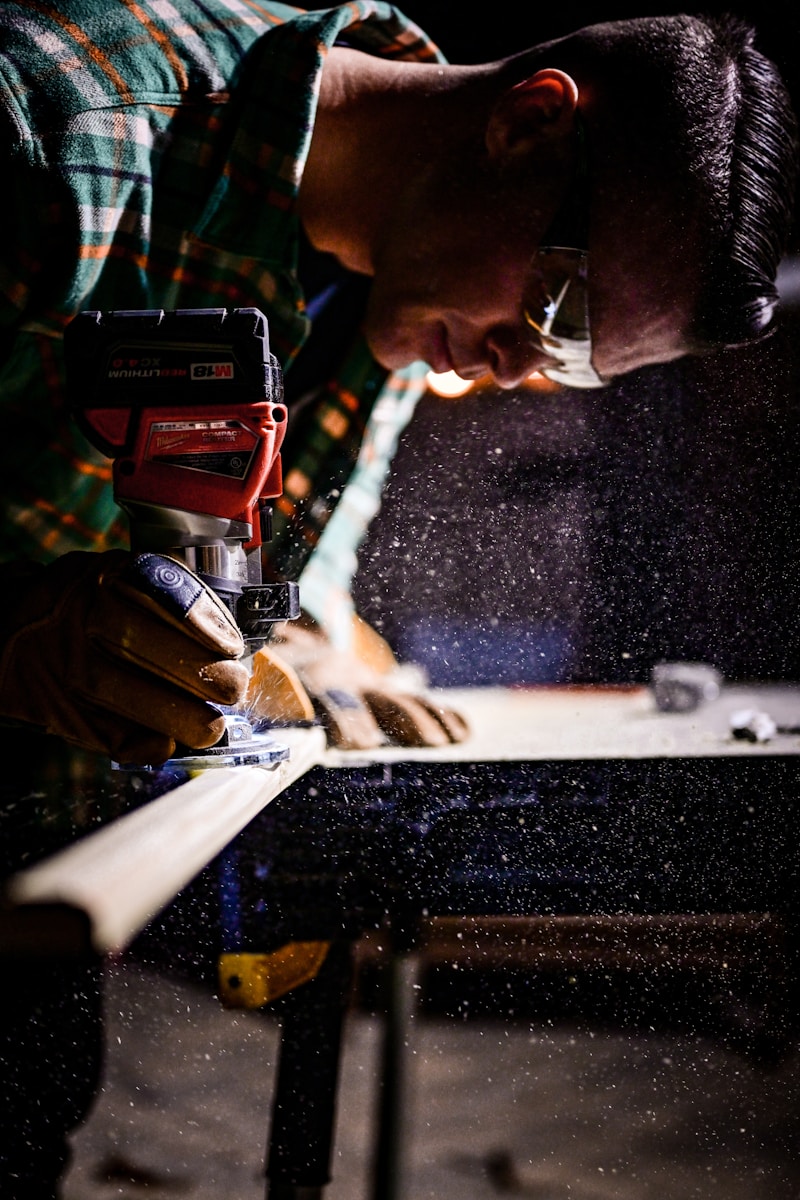
- Drill, saw, and measuring tape
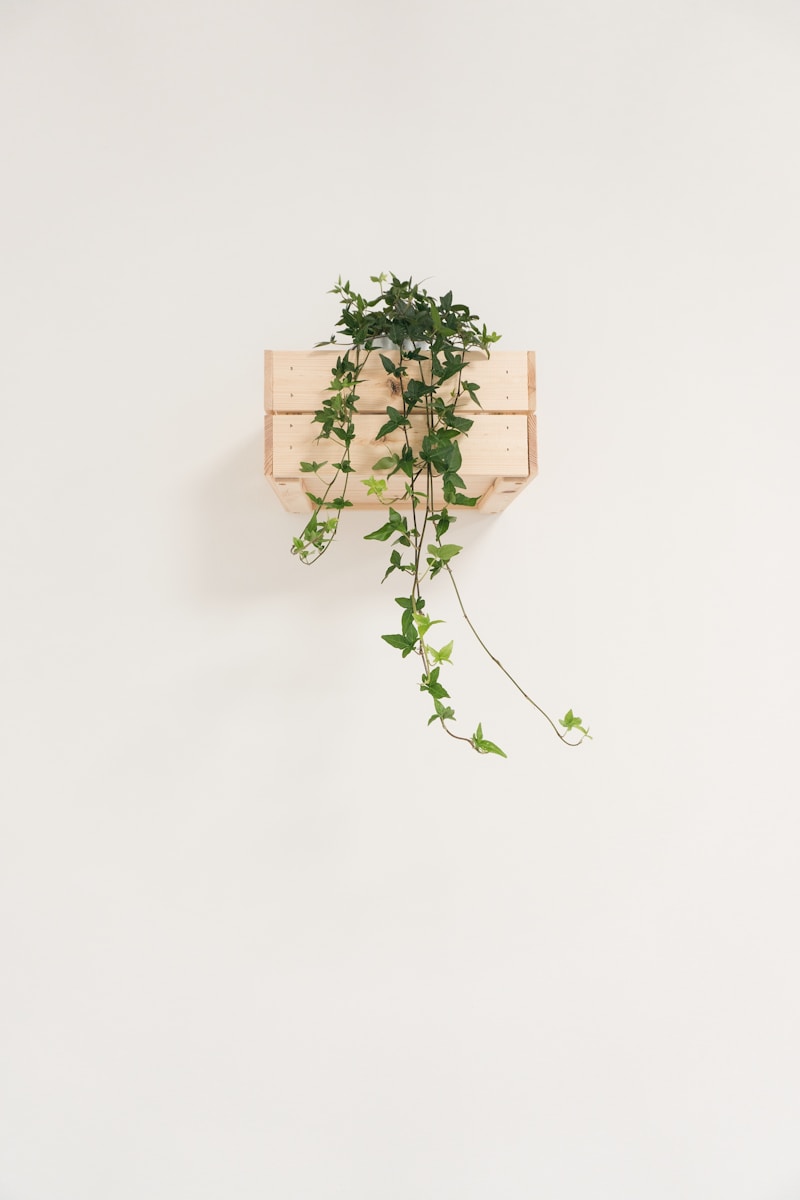
Step 4: Build the Frame
Cut your boards to the desired length and screw them together at the corners using brackets or screws. Make sure everything is square and level before placing it in your garden area.
Step 5: Prepare the Ground
Remove grass and weeds where the bed will sit. Line the bottom with cardboard or landscape fabric to suppress future weeds while allowing water to drain. This will break down naturally over time.
Step 6: Fill with the Right Soil Mix
A good raised bed mix is:
- 60% topsoil
- 30% compost
- 10% perlite or vermiculite
Mix well before filling your bed to ensure consistent nutrients and good drainage.
Step 7: Plan Your Planting Layout
Use companion planting strategies to group plants that benefit each other. Taller plants should go toward the back or center, and spacing should reflect each plant’s growth size. Consider square foot gardening for easy organization.
Step 8: Add Mulch
Cover the soil with straw, shredded leaves, or bark mulch to retain moisture and reduce weeds. This also keeps soil temperatures consistent and improves the bed’s appearance.
Step 9: Install a Watering System (Optional)
If you want less daily maintenance, install a drip irrigation system or soaker hose. These systems deliver water right to the roots and reduce waste.
Step 10: Maintain Your Bed
Water regularly, especially in the first few weeks. Pull weeds as needed, and top up the compost each season. With good care, your raised bed will stay productive for years!
Frequently Asked Questions
Can I build a raised bed garden without power tools?
Yes, you can use pre-cut boards and a manual screwdriver, though it may take more effort. Corner kits are a good tool-free option too.
What type of wood is best for raised beds?
Cedar and redwood are naturally rot-resistant. Avoid pressure-treated wood unless it’s labeled safe for food-growing use.
How deep should a raised bed be?
12 to 18 inches is ideal for most vegetables and herbs. Root crops like carrots may need slightly deeper beds.
Can I place my raised bed on concrete?
Yes, but it’s best to build a deeper bed (at least 18 inches) and ensure proper drainage. Use a layer of gravel at the bottom if needed.
How long will a wooden raised bed last?
Untreated wood may last 5–7 years, while rot-resistant wood can last 10–15 years or more with proper care.
© 2025 GardeningandDecor.com. All rights reserved.