Build Your Own Custom Bookshelves or Cabinets
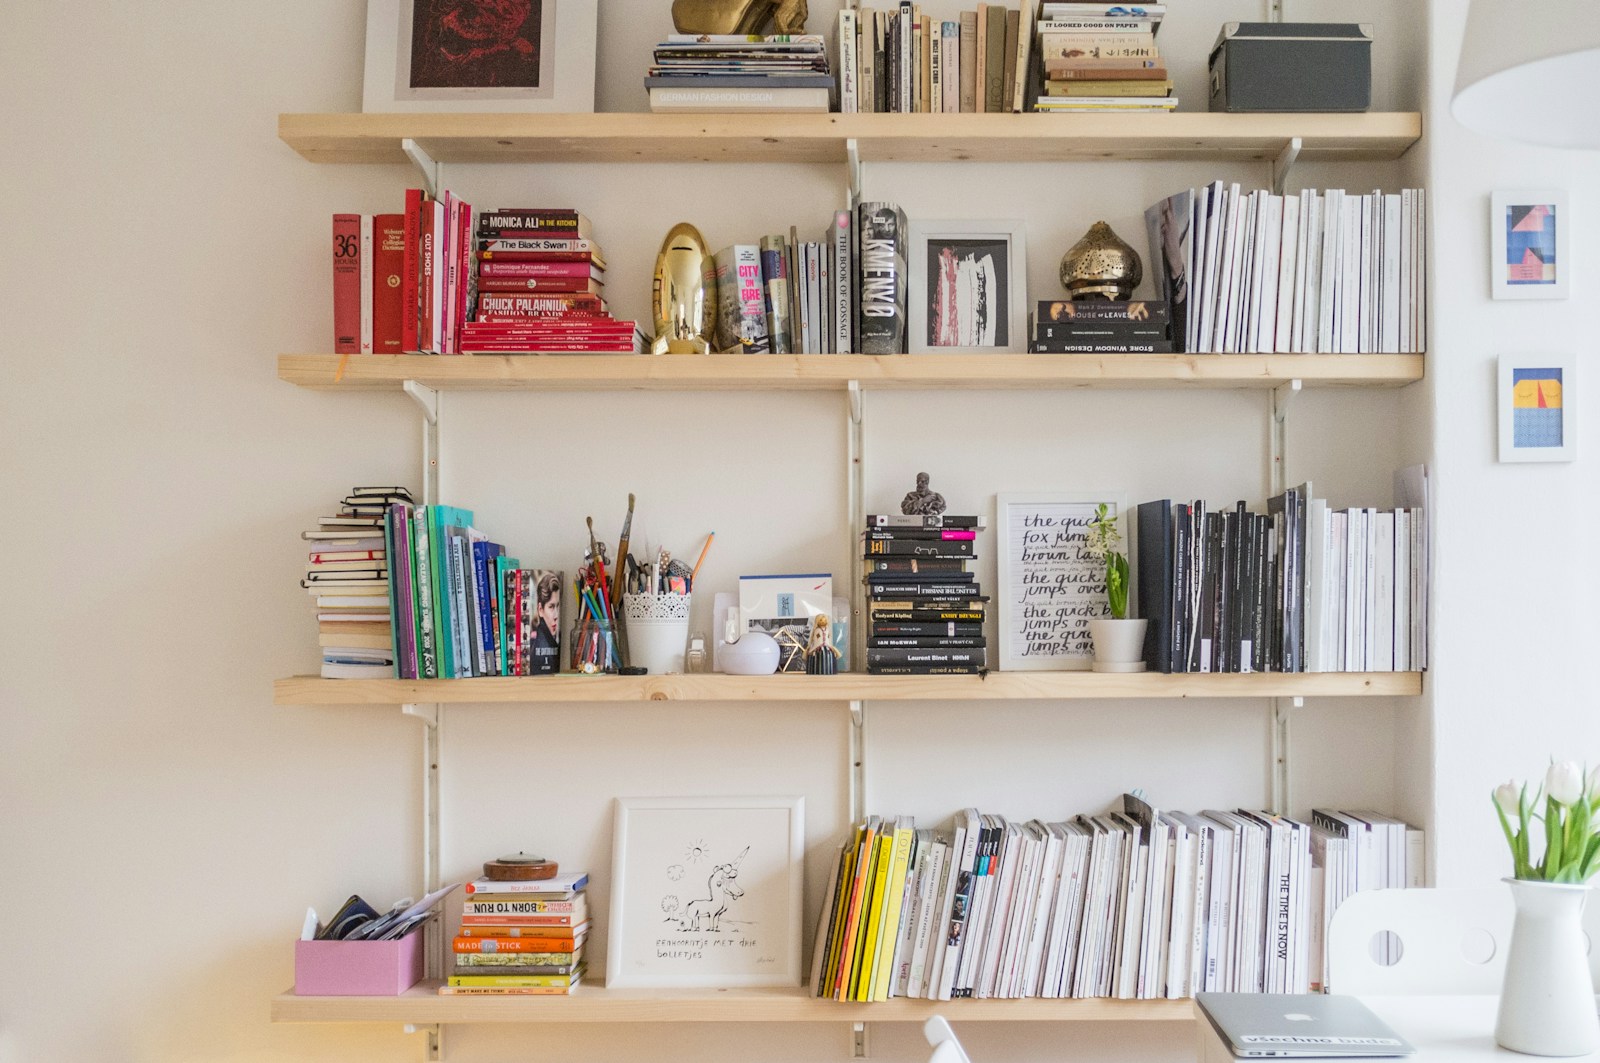
Want to add more storage and style to your space? Learning to build your own custom bookshelves or cabinets is a rewarding DIY project that combines function with design. Whether you’re outfitting a home office, living room, or even a closet, this guide walks you through how to plan, build, and finish your own piece from scratch—even if you’re just getting started.
Plan Your Design and Dimensions
Start by deciding where your piece will go and how much space you have to work with. Measure the height, width, and depth of your available wall or floor space. Then sketch your layout, including how many shelves or compartments you need. Consider what you’ll be storing—books, baskets, bins, or display items—and space accordingly.
Choose Your Materials
For most bookshelf and cabinet builds, plywood, MDF, or solid wood are great choices. Plywood offers strength and affordability, while MDF has a smooth finish ideal for paint. Solid wood is the most durable, especially for heavier loads. You’ll also need wood screws, wood glue, brackets (if mounting), and finishing supplies like paint or stain.
Gather the Right Tools
Basic tools for this project include:
- Measuring tape and pencil
- Circular saw or table saw
- Drill and drill bits
- Wood glue and clamps
- Level and square
- Sander or sanding block
- Paintbrushes or rollers (for finishing)
Cut and Prep Your Boards
Use your measurements to cut the top, bottom, sides, and shelves. Always double-check before cutting. Sand all edges and surfaces to remove splinters and prep for paint or stain. Dry fit the pieces together before assembly to make sure everything aligns properly.
Assemble the Frame
Start by assembling the outer box—attaching the top and bottom boards to the side panels using wood glue and screws. Use a square to ensure all corners are 90 degrees. Clamp and let dry if needed. Then attach the back panel if your design includes one (optional, but adds stability).
Add Shelves or Compartments
Measure and mark the desired height for each shelf inside the frame. Use a level to ensure everything is even, then secure with screws through the side panels. If you’re building cabinets, this is the stage where you add dividers, doors, or drawers as needed.
Customize the Finish
Once assembled, fill any gaps or screw holes with wood filler. Sand smooth, then paint or stain based on your design. For a polished look, add trim, edge banding, or crown molding to match your decor. Allow everything to dry completely before styling or loading the shelves.
Mounting and Anchoring (Optional)
If your bookshelf or cabinet is tall or narrow, anchor it to the wall for safety—especially in homes with children or pets. Use wall brackets or anti-tip kits, and locate studs for secure installation.
Conclusion
Building your own custom bookshelves or cabinets is a fantastic way to create stylish storage that perfectly fits your space. With a little planning, the right tools, and a weekend of work, you’ll have a functional piece you can take pride in—and show off for years to come.
Frequently Asked Questions
Is this a good beginner project?
Yes! A simple open bookshelf with fixed shelves is a great starter project. As your skills grow, you can try adding doors, trim, or custom features.
What’s the best wood for bookshelves?
Plywood is strong and affordable, MDF is great for painted pieces, and solid wood offers the most durability for heavy books or large items.
Do I need a back panel?
No, but it adds extra stability and prevents items from falling behind the unit. A thin plywood sheet or beadboard panel works well as a backer.
How do I make it look more professional?
Use wood filler to cover holes, sand between coats of paint, and consider adding trim or edge banding. Finishing touches go a long way.
Can I build this without power tools?
Technically yes, but it will take much longer and require more effort. A basic drill and saw are highly recommended for ease and precision.
© 2025 GardeningandDecor.com. All rights reserved.


