DIY Success Starts Here: Tips for Planning, Budgeting, and Measuring
Define Your Project Goals Clearly
Before starting any home improvement task, one of the most vital DIY planning tips is to define your project goals. Ask yourself what the end result should look like and how it will function. Are you aiming for aesthetic upgrades, more storage, better lighting, or all of the above?
Write down your main objectives, and break them into smaller, achievable tasks. This clarity helps prevent mid-project changes that cost time and money. With a strong vision, you’re better equipped to stay focused and complete your DIY project successfully and efficiently.
Measure Twice, Cut Once
It may be a cliché, but it’s a golden rule for good reason. Among the top DIY planning tips is the mantra to measure twice and cut once. Inaccurate measurements lead to wasted materials, ill-fitting pieces, and frustrating setbacks.
Use the right tools—tape measures, levels, and squares—and write your measurements down. Label each piece clearly if you’re cutting multiple parts. Double-check dimensions against your plan before making any cuts. This simple practice saves time, money, and headaches while boosting the precision of your final result.
Sketch and Visualize Your Layout
Whether you’re building furniture, remodeling a room, or hanging a gallery wall, visual planning is crucial. DIY planning tips often emphasize the value of a simple sketch—even if you’re not an artist. Draw the layout, take photos of the space, and use digital tools to test placements.
This process helps you spot potential issues before you begin. You’ll see where materials meet, how colors interact, and what spacing looks right. Even basic sketches provide perspective and prevent oversights that can derail your timeline or budget.
Create a Realistic Budget and Include a Buffer
Planning your finances is just as important as choosing the right tools. Calculate the cost of materials, tools, hardware, paint, and safety gear. Research prices at multiple stores or online to avoid overspending. One of the smartest DIY planning tips is to include a buffer of at least 10–15% for unexpected costs.
Set a maximum limit and prioritize essentials first. Track your spending as you go. A solid budget keeps your project on track, reduces stress, and ensures you’re prepared for any surprises without sacrificing quality or momentum.
Make a Project Timeline with Milestones
Every successful project needs a timeline. Break your task into phases—planning, prep, execution, cleanup—and set realistic deadlines for each. This structured approach keeps you organized and ensures steady progress.
DIY planning tips stress the importance of flexibility. Allow extra time for material delays, drying periods, or unexpected setbacks. Use a whiteboard, spreadsheet, or even sticky notes to stay on schedule. When your project is mapped out day by day or week by week, you’re more likely to finish efficiently—and enjoy the process more.
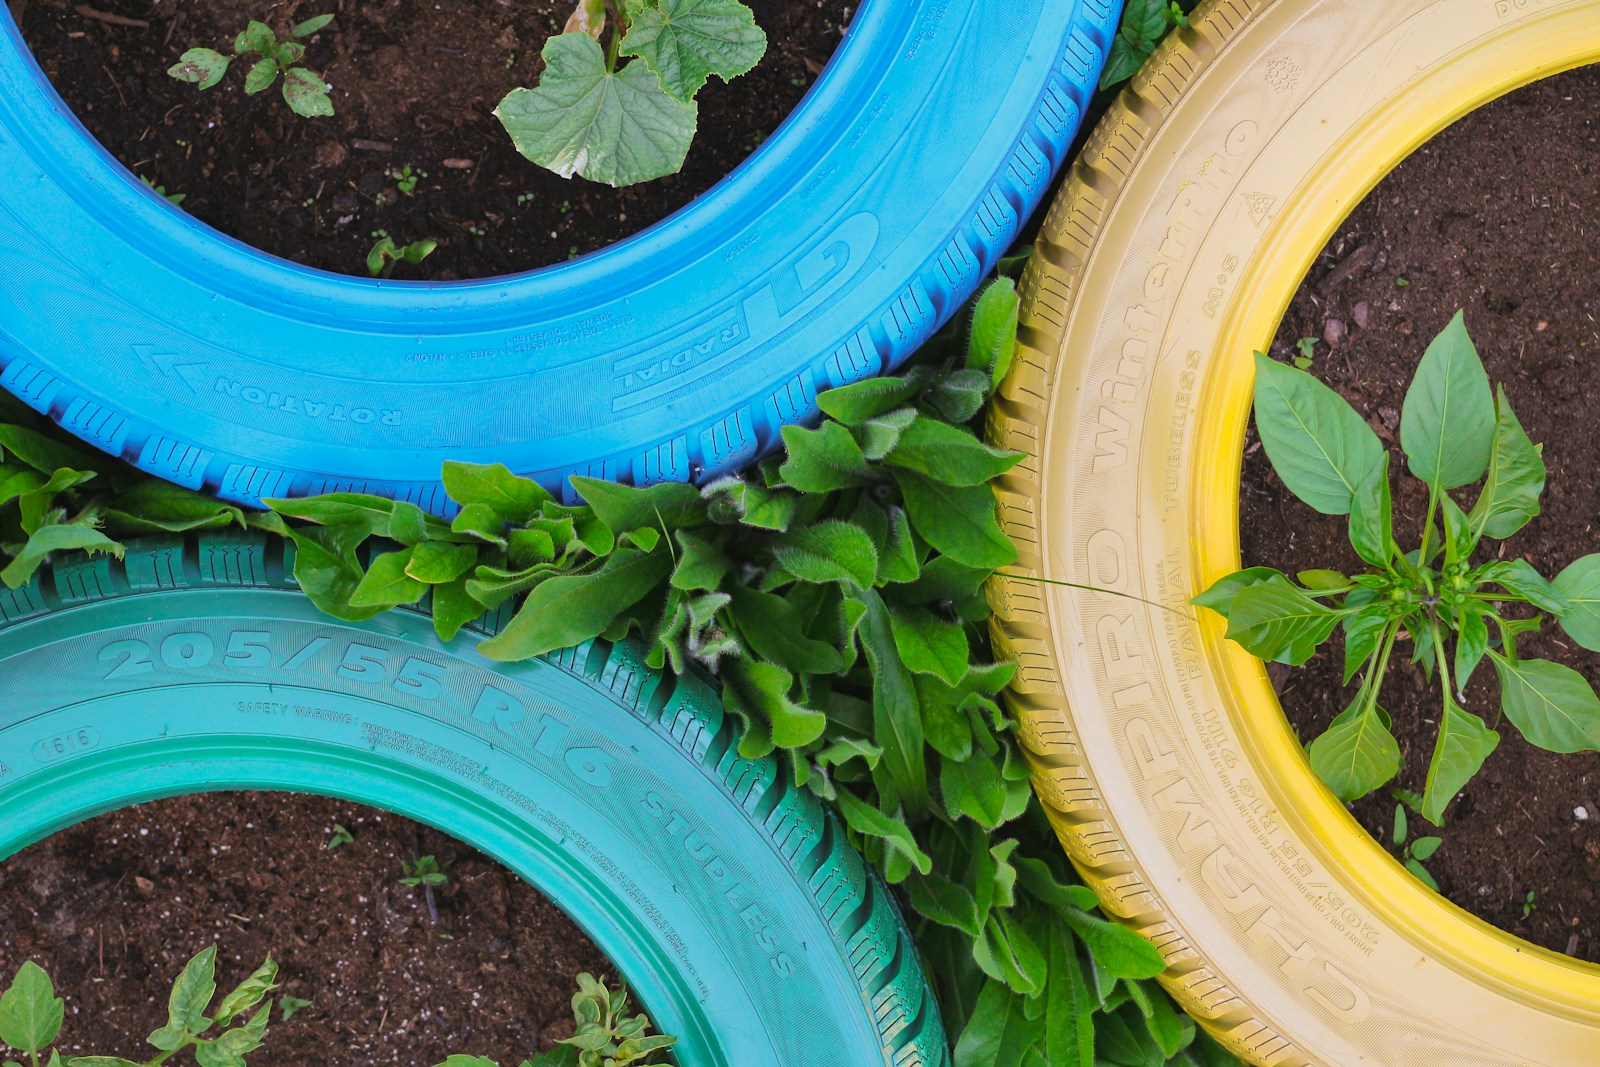
Choose the Right Materials for Your Skill Level
While it’s tempting to opt for high-end materials, they can be difficult to work with for first-time DIYers. One of the best DIY planning tips is to match materials to your skill level. For example, MDF is easier to cut than hardwood, and peel-and-stick tiles are more forgiving than ceramic ones.
Read reviews, consult tutorials, and visit hardware stores to get hands-on with different options. Choosing user-friendly, affordable materials helps ensure your project stays on track and builds your confidence for future upgrades with more advanced finishes.
Make a Comprehensive Shopping List
Before heading to the hardware store, compile a complete shopping list. Group items by category—wood, paint, fasteners, safety gear—to streamline your trip and reduce the risk of forgetting something. Include backup materials for trial cuts or unexpected adjustments.
DIY planning tips emphasize efficiency, and a thorough list minimizes store runs that disrupt your workflow. Keep the list on your phone or in a project notebook and check items off as you go. Organized shopping sets the stage for a smoother and more focused project execution.
Organize Your Tools and Materials in Advance
Prepping your workspace is essential for a productive build. Gather your tools, stage your materials, and clear the area of clutter. Set up stations for cutting, assembly, and painting or finishing. This preparation reduces frustration and helps maintain a safe, functional environment.
One of the simplest but most overlooked DIY planning tips is to test tools before use. Ensure everything is charged, sharp, or clean. With everything within reach and ready, you’ll save time, reduce stress, and enjoy a more fluid DIY experience.
Consider Function Alongside Aesthetics
Looks matter, but function is just as important. One of the smartest DIY planning tips is to assess how your project will be used daily. Will your shelving support weight? Does your layout allow for foot traffic? Are your finishes kid- or pet-friendly?
Think through the practical elements during the design phase, and don’t compromise usability for style. Great DIY projects strike a balance between form and function—serving both your space’s needs and its personality. This planning mindset ensures you create upgrades that last and work well in real life.
Document Your Process with Notes and Photos
Taking photos and notes as you go might seem unnecessary, but it’s incredibly useful for reference, troubleshooting, or repeating successful techniques. Snap photos before disassembly, record paint formulas, and jot down tool settings or layout choices.
This DIY planning tip helps you learn from each project while building a helpful personal archive. If you ever need to make repairs, explain your setup to someone else, or replicate your work, this documentation will be invaluable. Plus, sharing your progress on social media can inspire others and celebrate your hard work.
Double-Check Codes and Regulations
Before tackling anything structural or electrical, check your local building codes. Permits may be required even for seemingly small changes like deck installations or wall removals. DIY planning tips include doing your homework on safety standards and neighborhood guidelines.
Contact your local permitting office or consult online databases. This extra step protects your investment and prevents fines or forced do-overs. It also ensures your work is legal, safe, and up to code—especially important if you plan to sell your home in the future.
Do a Dry Run Before Committing
Lay out your materials and do a full dry run before nailing, painting, or gluing anything in place. This simple yet essential DIY planning tip helps identify misalignments, spacing issues, or missing components before it’s too late to fix them easily.
Place boards where they’ll be mounted, tape design patterns onto walls, or dry-fit shelves and brackets. A dry run improves accuracy, reduces mistakes, and lets you adjust the plan without wasting time or supplies.
Break the Project into Manageable Tasks
Large projects can feel overwhelming. One of the most practical DIY planning tips is to divide the project into smaller, achievable milestones. Focus on one step at a time—cutting materials, painting sections, or installing hardware—rather than trying to do everything at once.
This approach helps you maintain motivation and monitor progress more easily. Use a checklist or timeline to track accomplishments and celebrate each small win. Breaking things down makes even complex DIY projects more approachable and less intimidating.
Use Checklists to Stay on Track
Checklists are a low-tech but highly effective tool for DIY project success. They help you track materials, progress, safety steps, and cleanup tasks. One of the most overlooked DIY planning tips is how transformative a detailed checklist can be for focus and accountability.
Keep your checklist visible and accessible. Update it as the project evolves, and review it before each session. Whether digital or handwritten, a checklist turns a chaotic to-do list into a structured, satisfying plan you can follow through with confidence.
Reflect and Learn from Every Project
After completing a project, take time to reflect. What went well? What would you change? Which tools or materials were helpful—or not? Among the most powerful DIY planning tips is treating every project as a learning opportunity, not just a task to finish.
Write a short recap in a notebook or project journal. These reflections improve future planning, help you work faster, and avoid repeating mistakes. Over time, your notes become a valuable DIY playbook that boosts your skills and builds your confidence.
Frequently Asked Questions
What’s the first step in DIY project planning?
The first step is defining your project goals. Outline what you want to achieve—whether it’s storage, visual appeal, or improved function. Then, research the tools, materials, and techniques required. One of the top DIY planning tips is to assess your space and skill level honestly before starting. With a clear objective, it’s easier to make smart decisions about time, budget, and scope—laying the groundwork for a smooth and successful project.
How can I stay on budget during a DIY project?
Create a detailed budget with itemized costs for materials, tools, and safety gear. Always include a 10–15% buffer for surprises. Compare prices across multiple stores, consider secondhand materials, and track spending in real time. One of the most useful DIY planning tips is to prioritize essentials first and delay optional upgrades. A disciplined budget keeps your project from becoming overwhelming and helps you stick to your financial goals.
What measuring tools should every DIYer have?
Essential measuring tools include a retractable tape measure, level, combination square, and, for advanced projects, a laser measure. Each tool serves a different function—accuracy for cuts, straight lines for installations, and right angles for framing or layouts. Following precise DIY planning tips like “measure twice, cut once” helps avoid mistakes, save materials, and ensure your final result is clean and professional-looking.
How can I avoid project delays when planning DIY?
Anticipate common hiccups like shipping delays, tool malfunctions, or weather interruptions by building buffer time into your schedule. Create a task-based timeline with milestones and prepare all materials in advance. One of the most effective DIY planning tips is to do a dry run and double-check everything before beginning. Flexibility and preparation reduce stress and keep your project moving forward, even when things don’t go exactly as planned.
Why is it important to document your DIY projects?
Documenting your project helps with troubleshooting, maintenance, and repeating successful techniques. Take photos, write notes, and record dimensions, materials, or paint formulas. These records create a personal reference library you can use for future projects. This DIY planning tip is especially helpful for more complex builds or if you plan to share your process online. It boosts your efficiency, builds confidence, and helps others learn from your experience.
© 2025 GardeningandDecor.com. All rights reserved.